In the first part of this series, we introduced Git and why you need it for all your development projects. At this point, you should also have Git installed on your computer. (If you do not, be sure to check out part 1 of this series.) Now, let’s learn the basics of using Git: repositories, commits, and branches.
And for this example, we are going to a filing cabinet as an analogy.
Git Basics – Repositories
Imagine a single filing cabinet in the middle of a room (middle is important, we’ll address this later). Inside the filing cabinet are folders containing every single change ever made to your project. A repository (or repo for short) is a digital version of that file cabinet. It is the container itself. It is the central location that safeguards your project’s entire history, allowing you to browse through the files. You can rewind, fast-forward, or even jump to a specific point in the files.
Git Basics – Commits
Continuing our file cabinet analogy, a commit is one of the individual folders inside the repo. Think of a commit as a snapshot of your project at a specific point in time. Whenever you make significant changes (fixing a bug, adding a new feature), you create a commit to document those changes. It’s like taking a screenshot of your project after each editing session, capturing its progress for future reference.
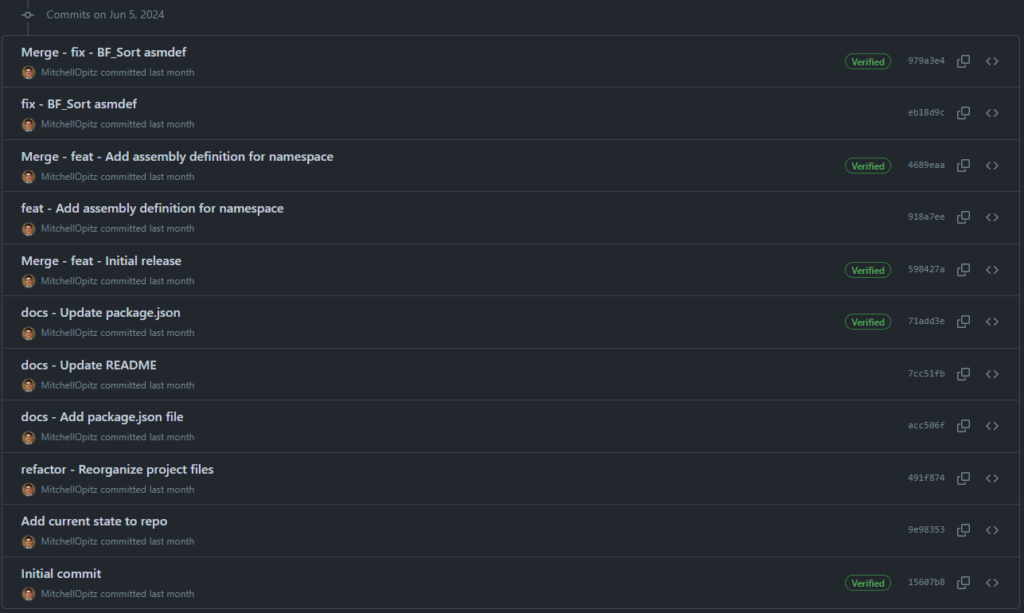
Each commit comes with a commit message, a brief note you write to explain the changes you made. This message is crucial! Consider it the caption for your project screenshot (or in our analogy, it would be the label for one specific folder). A clear and concise commit message becomes your best friend when you need to revisit past changes or collaborate effectively with others.
I feel so strongly about good commit messages that I’ll be dedicating a whole article to crafting good commit messages in Part 4.
Git Basics – Branches
Remember how we said the repo is the file cabinet in the middle of the room?
What if you are working on a new feature for your project? You don’t really want to put things into that repo that aren’t fully complete. You need a place to experiment freely without affecting the main project code. That’s where branches come in.
Think of a branch as a separate file cabinet at your desk. You’ve made a copy of the main repo and put its content into your own file cabinet. It diverges from the main codebase and allows you to work on your new feature or bug fix independently. This way, you can experiment, make mistakes (we all do), and fix them without jeopardizing the stability of the main project code.
Branches are fantastic for:
- Developing new features: Try out new ideas without affecting the core code.
- Fixing bugs: Isolate the bug fix in a branch before merging it back into the main codebase.
- Parallel development: Multiple developers can work on different features simultaneously using branches. (Each would have their own desk with their own duplicate file cabinet.)
Once you’re happy with the changes in a branch, you can merge it back into the main codebase, essentially integrating your work with the rest of the project. This is equivalent to taking the folders you added to your individual file cabinet and moving those folders to the file cabinet in the center of the room. We’ll explore branching strategies in more detail in Part 5, but for now, understand that branches are the main place for you to actually work.
Local vs Remote Repositories
Now that we have the file cabinet analogy down, I want to introduce the proper terminology. There are two primary types of repositories to keep in mind:
- Local Repository: This one resides on your personal computer. Think of it as your dedicated workspace where you make changes and prepare them for sharing with others. In our analogy, this is the individual file cabinet at your desk.
- Remote Repository: This one lives on a hosting platform like GitHub (we’ll explore this further in Part 6). It’s the sharable version of your repository, enabling collaboration with your team or showcasing your work to the broader developer community. In our analogy, this is the file cabinet in the center of the room.
Conclusion
By mastering these Git fundamentals (repositories, commits, and branches), you’ll be well on your way to becoming a Git pro. Now, we’re ready to start applying what we’ve learned. In part 3 of this series, we’ll take a look at the basic Git workflow. You’ll learn how to create a repository, set up your individual branch, and create your commits.